Guides
How to Add Dividers to Organize Pages in Figma
Keeping your Figma project organized is key to a smooth workflow. Dividers make it easy to group related pages and navigate your design files faster. In this guide, you’ll learn how to add, move, duplicate, and delete dividers in Figma to keep your workspace neat and structured.
1
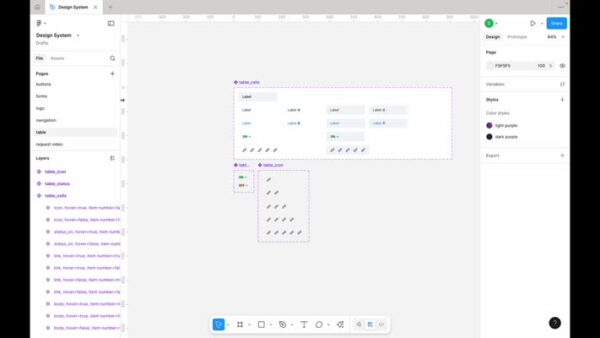
Open Figma and Navigate to Desired Page
- Ensure you are on the page where you want to add a divider.
2
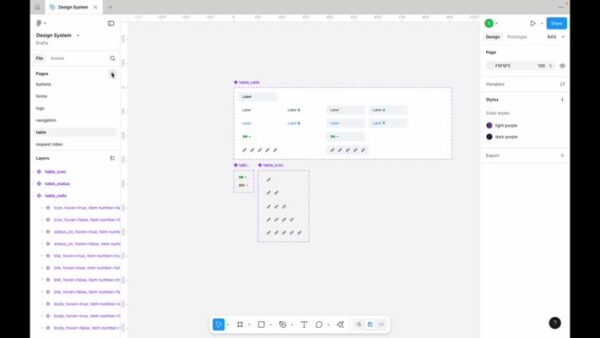
Add a New Page
- Click on the plus button to add a new page.
3
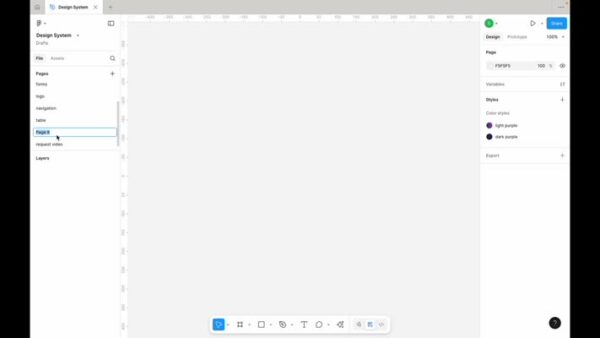
Create a Divider
- For the title of the new page, enter a hyphen and press the return key on your keyboard.
4
Position the Divider
- To move the divider, click and drag the page up or down.
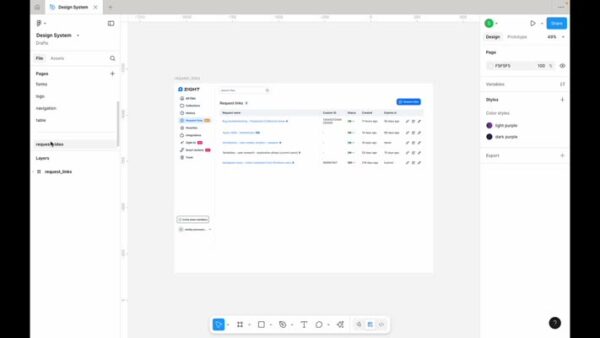
5
Duplicate a Divider
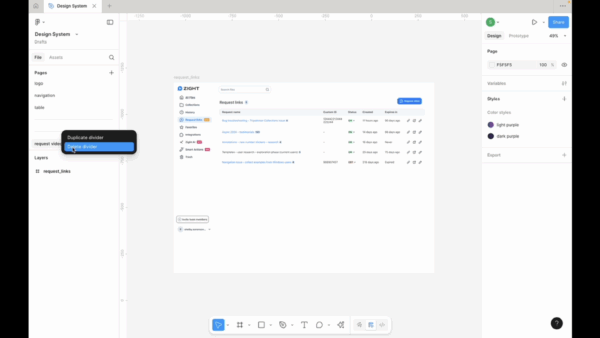
- Right-click on the divider and select “duplicate divider” for a quicker way to add more dividers.
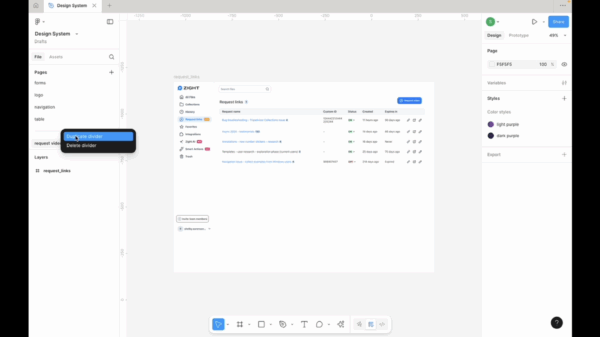
6
Delete a Divider
- To remove a divider, right-click on it and choose “delete divider”