Guides
How to Create LinkedIn Carousel Posts
This step-by-step guide walks you through how to create a LinkedIn carousel post—from designing your slides and combining them into one PDF to uploading and publishing the final post on LinkedIn. Perfect for marketers, creators, and brands looking to boost engagement with swipeable content.
1
Design Your Slides
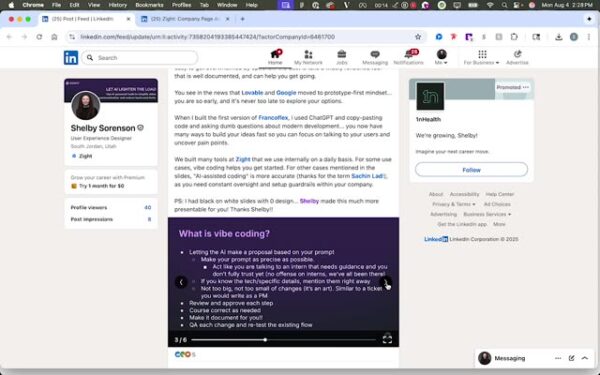
- Create your design for the LinkedIn carousel post.
- Save the design as a PDF.
2
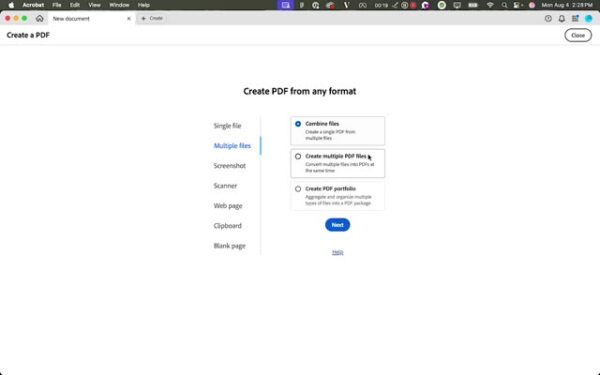
Open Adobe Acrobat
- Go to Adobe Acrobat to combine all your PDFs.
- If you’re not already on the page, click on ‘Create’ at the top and select ‘Combine Files’.
- Click on ‘Add Files’ to upload your design.
3
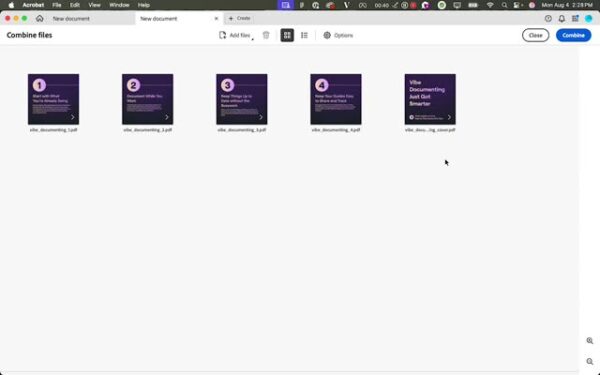
Arrange Files
- Rearrange the files in the correct order if necessary.
4
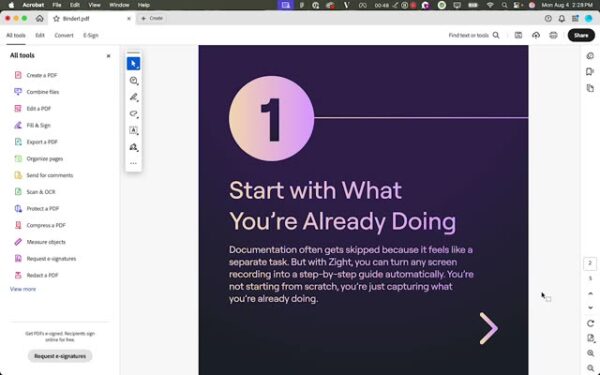
Combine Files
- Once arranged, click on ‘Combine’ to merge the PDFs.
5
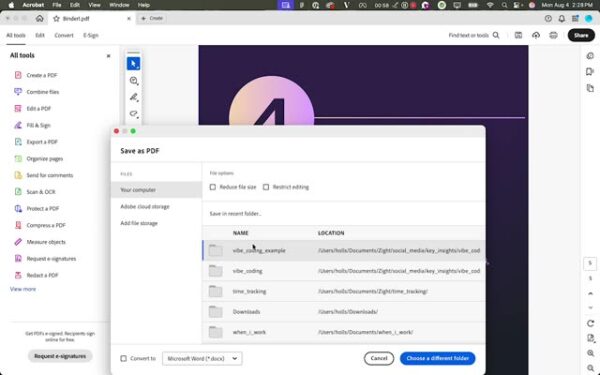
Save Your Combined PDF
- Go to ‘File’ and select ‘Save As’. Save your combined PDF in the desired location and label it appropriately.
6
Choose “Add Documents” Post Option
- Go to LinkedIn, click on ‘Create’, then ‘Start a Post’. Click ‘More’, then ‘Add Documents’. Choose the file you’ve created.

7
Preview and Finalize
- Preview your carousel post, add a title, and click ‘Done’. Add your caption and hit ‘Post’.