Guides
Guide to New Request Video Feature for Log Collection
Make it easier for your customers to show you what’s going wrong and capture the technical details behind it. Zight’s Request Video feature lets you collect both a screen recording and browser logs, like console errors and network activity, with just a few clicks. This step-by-step guide shows you how to enable the feature, install the snippet, and customize request links so you can troubleshoot faster and more effectively.
1
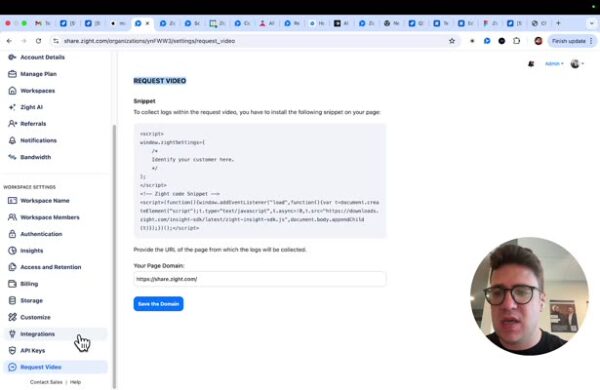
Enable the Request Video Feature
- In your settings, enable the brand-new section called Request Video. Access your settings via share.zight.com and navigate to Settings. On the bottom left, you’ll see a new section called Request Video.
2
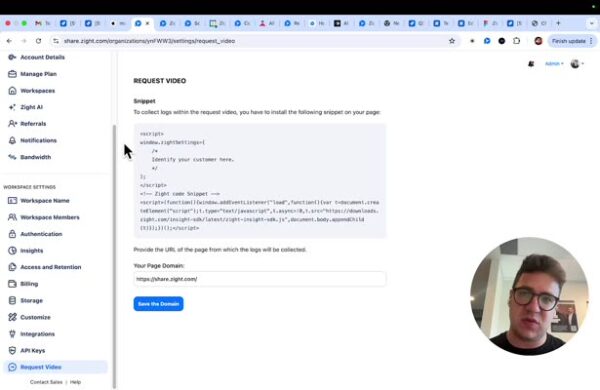
Add Your Primary Domain
- Example: app.example.com or example.com
3
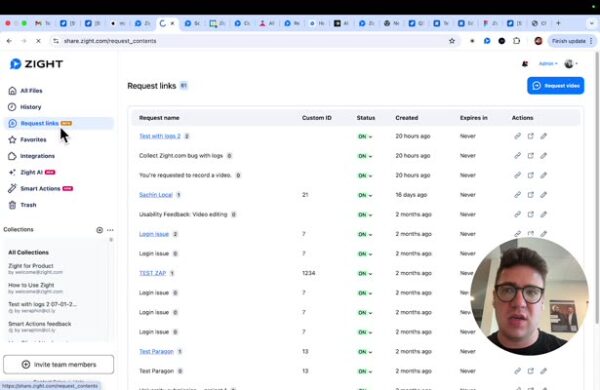
Create a Request Link
- Navigate to your dashboard and go to the request link section.
4
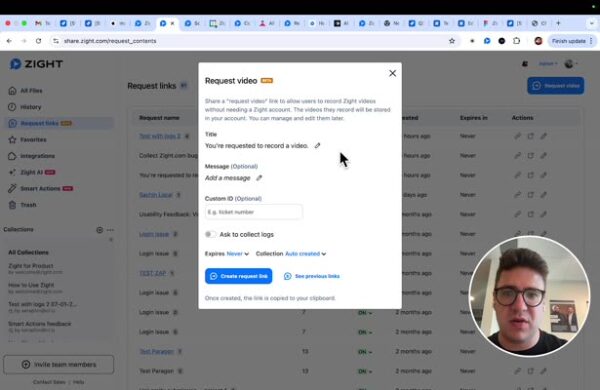
Ask to Collect Logs
- When creating a new request video link, you will see a section called “Ask to Collect Logs.” Click on that button to proceed.
5
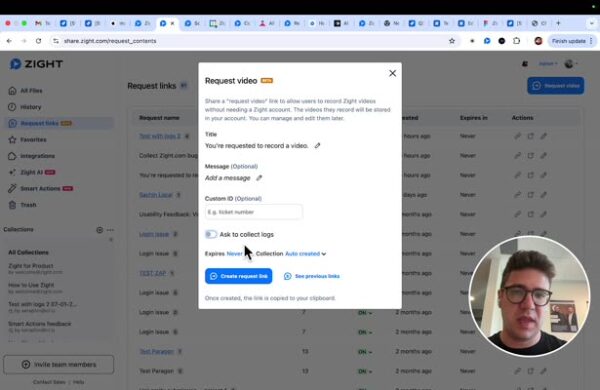
Customize the Request
- When creating a new request video link, you will see a section called “Ask to Collect Logs.” Click on that button to proceed.
6
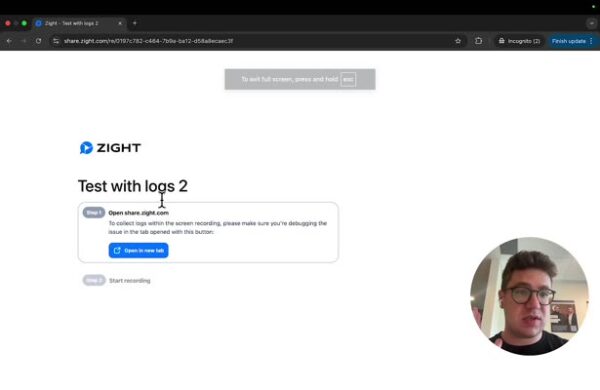
Customer Experience
- From your customer’s perspective, they will see a two-step process: open the domain you set up and click on start recording. Their interactions will be recorded.
7
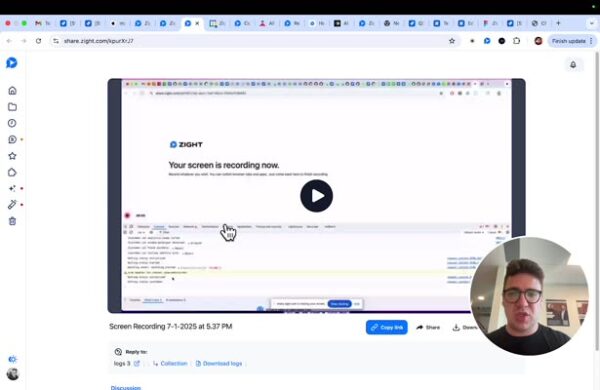
View and Collect Logs
- Once the recording is complete, you will see their video and a button called “collect download logs” to start the download. This will include console information, warnings, errors, and network data.